It's funny how I rationalize the summer garden ~ I keep telling myself: I just have to get to the next crop harvested. So, looking ahead we've got more tomatoes for tomato sauce, spaghetti sauce, and salsa, more bell peppers, eggplants, and field peas; the okra is just now starting to come in and then we'll have apples in August. The cucumbers, zucchini, and yellow squash are getting wormy so we've slacked in picking them (plus we've picked our fill of cucumbers, lol).
Yes, it's a heavy load, but our family is pulling together to get it all done. One day at a time, one picking at a time, and one preserving method at a time. It won't be long and it will all be finished; another year of harvesting and preserving the main summer garden will be under our belts. Soon the garden will be tilled and prepped for our fall gardens, and we will be able to slow down just a tad. Our fall gardens are much smaller, less work, and more for simply eating fresh home grown produce.
Growing your own food is a never ending cycle of planning, prepping, and toiling but when you see all your hard work before you it makes the whole process so worth while! Here's a few pictures to show y'all what we've been up to these days.
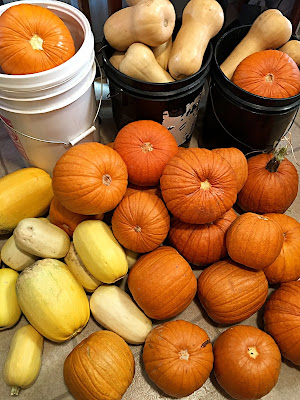
This is what my laundry room/storage room looks like. We are over-flowing with winter squash. Yes, it is early in the year for winter squash, but it just works better for us to plant them earlier in the year. We eat the butternut and spaghetti squash fresh, but I will be canning all the pumpkin soon.
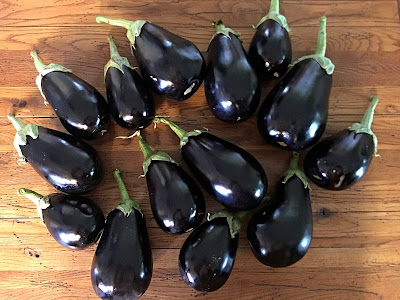
My husband planted six eggplant plants and all of them have thrived, producing tons of eggplants. I breaded and froze 20 one gallon bags of sliced eggplant to fry up later in the year for them to get ruined when one of my kiddos left the freezer door open {{sigh}}. We also had to cook up a bunch of meat that also thawed ~ it was not a fun situation, but we survived and have started over freezing the sliced and battered eggplant, thankfully we are having a bumper crop this year and have the extra eggplant. Trying to stay positive, lol.
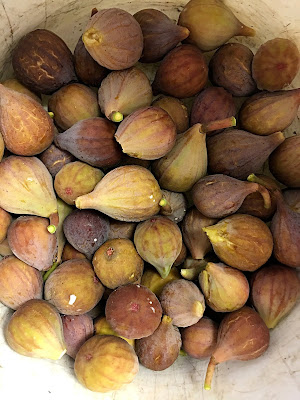
The fig trees have just started producing right as we are wrapping up our blueberry picking. We were blessed to go straight from the blackberry harvest to the blueberries and on to the figs. We'll wrap up with the muscadines in August ~ fruit bearing bushes and trees are the best!
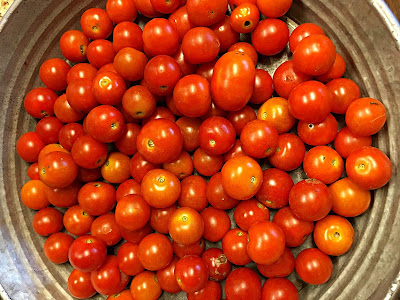
Our cherry tomato plants are currently at peak production. I think this has been our best year ever for cherry tomatoes and my kiddos love to pick them.
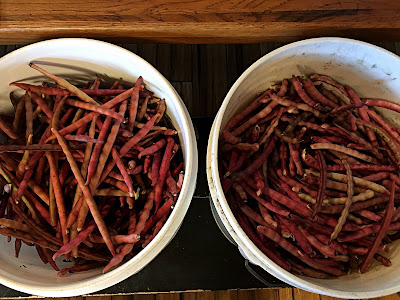
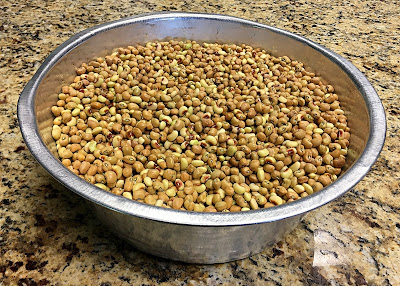
We're picking 5-10 gallons worth of field peas a couple of times a week.
We're shelling the peas and freezing them until we get some free time to can. Leaving them in freezer bags in the freezer is okay, but we have limited freezer space and I'd rather can the peas to give us more room for freezing other produce that doesn't can well.
We've picked about 20 watermelons so far this year. Including one that was 41 pounds!!!
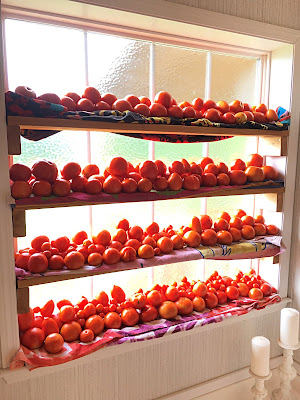
When you live on a bustling homestead, all available space is put to use ~ outside AND inside your home. We put in these mini window shelves in our master bath to hold tomatoes to ripen as well as a place for garden plant starts. It may not be the most attractive space, but it is a most practical space!
And that's a quick look of what we've got producing around our little homestead. I'd show y'all some pictures of our gardens, but they're a mess since right now our focus is harvesting and preserving not weeding. We only have so much time and energy; my husband works a minimum of 60 hours a week and we still have nine children we have to take care of. Keeping your head above water during the peak summer garden season is all about balance, prioritizing and recognizing you can't do it all. And even though we can't do it all, we try our best to be good stewards with all the Lord blesses us with including our garden harvests. 😊
With Love & Hope,
Jennifer

